How to Clean Hardwood Floors Without Damage
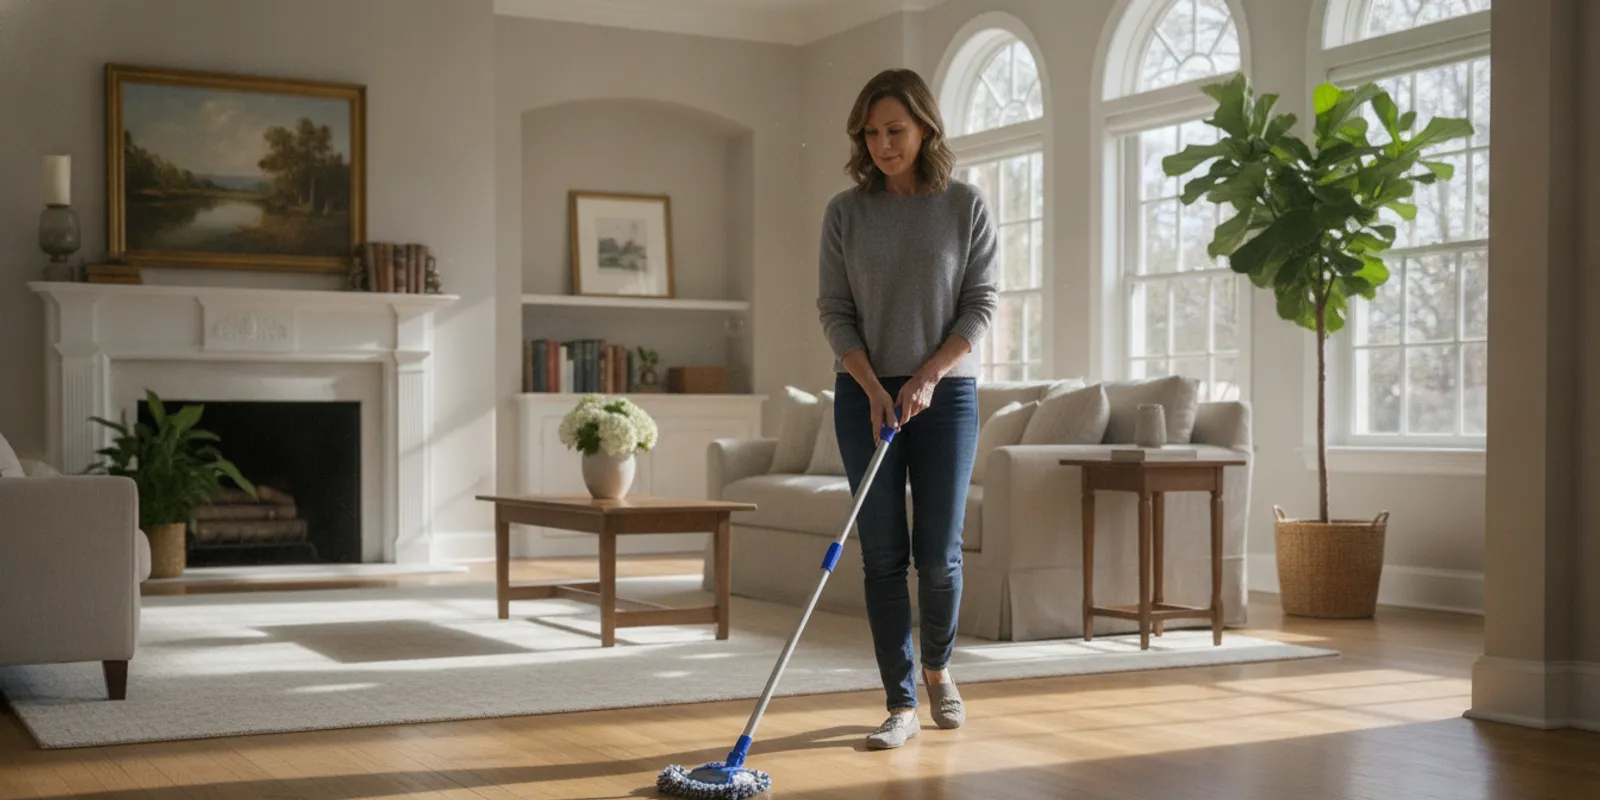
Knowing how to clean hardwood floors starts with removing grit before using any liquid. Dust, sand, crumbs, and tracked-in debris can dull the surface or act like fine abrasives beneath shoes. In most homes, a regular dry-cleaning routine and occasional careful damp cleaning are more useful than frequent wet washing. The safest method depends on the floor’s finish, condition, and manufacturer’s instructions.
What should you check before cleaning a wood floor?
Begin with what you know about the floor. Solid and engineered describe how boards are constructed; the surface finish is what most directly affects cleaning. Many newer floors have a protective surface coating. Older, worn, waxed, oiled, or unfinished floors can need different care. Do not assume one cleaner or method suits every wood surface.
Look for care documents from the flooring manufacturer, installer, landlord, or previous owner. If you can identify the product name or finish, use that information to find its recommended cleaner and maintenance method. Keep the instructions accessible, especially if several people clean the home.
- Check for worn, scratched-through, cloudy, flaking, or bare-looking areas.
- Notice open seams, gaps, lifted boards, or edges where liquid could collect.
- Look at thresholds and high-traffic routes, where the finish may show wear first.
- Use only products labeled for the floor type or finish, and follow their directions.
If you rent, consult your lease or property manager before applying a product that could alter the finish. For antique, valuable, or visibly damaged flooring, seek finish-specific guidance before trying a new product. A gentle general routine is not a replacement for the manufacturer’s instructions.
When the finish is unknown, keep the first response simple: pick up loose debris, blot spills, and avoid introducing water or chemicals until you have better information. Do not conduct a test with an unfamiliar cleaner in the middle of a room. If the floor has an inconspicuous test area and the product instructions permit testing, follow those directions exactly; otherwise, ask the manufacturer or a flooring specialist.
How often should you clean hardwood floors?
There is no universal schedule. A seldom-used bedroom usually collects less debris than an entry, kitchen, or the route between the front door and living room. Pets, children, nearby construction, footwear, and outdoor conditions also change how quickly grit builds up. Use what you see and feel underfoot to guide dry cleaning, rather than wet-mopping automatically on a fixed timetable.
For a practical check, scan high-traffic paths, corners, and places where people eat or prepare food. If grit is visible or crunchy underfoot, dry-clean it. If a spill or sticky patch appears, address that spot. A full damp clean is a separate task and should happen only as needed and only when the floor’s care instructions allow it.
Simple prevention can reduce work. Place a doormat at entrances, shake or clean it regularly, and remove shoes indoors when practical. Keep felt protectors under movable furniture, and check them occasionally because grit trapped beneath a pad can scratch. Use rugs only when their backing and the floor manufacturer’s guidance are compatible, and lift rugs now and then to check for trapped moisture or color transfer.
A household with a dog that comes in from a muddy yard may need a quick entryway check each day, while a quiet room may need only periodic dust pickup. Neither situation calls for repeatedly washing the whole floor. A good routine addresses the dirty area without exposing clean boards to unnecessary moisture.
How do you remove dust and grit safely?
Dry cleaning is usually the best first step. It removes loose soil before a damp pad could drag it across the finish. Use a clean microfiber dust mop or a vacuum designed for hard floors. If your vacuum has a rotating beater bar, switch it off unless the flooring maker says it is safe. Check the wheels and head for damage or hard edges that might mark the surface.
- Pick up larger crumbs, gravel, and other debris by hand so they are not pushed across the boards.
- Move a clean dust mop in overlapping passes. Following the board direction can make it easier to cover each strip methodically.
- When the pad becomes visibly dirty or gritty, shake it into a bin outdoors or replace it with a clean pad.
- Use a hard-floor vacuum attachment for corners, edges, and the areas around furniture legs.
- Inspect the floor from a low angle or in daylight to find overlooked crumbs and dust lines.
A broom can work if its head is soft and clean, but it may scatter fine dust. Avoid stiff brushes, abrasive pads, and scouring powders. Do not use a vacuum with a broken wheel, a rough brush roll, or a head that scrapes when turned.
For a larger room, divide the floor into manageable lanes. Start at the far end and work toward the doorway so you do not walk repeatedly over the clean section. In a small room, move a light chair aside first, but do not drag heavy furniture. If you find a pebble or hard object, pick it up rather than trying to sweep it along with the mop.
Under furniture, clean only as far as you can reach safely. Move small pieces by lifting them, and use furniture sliders only if they are appropriate for the floor and kept clean. Heavy cabinets and appliances should not be shifted casually; a scratch or dent from an awkward move can be more troublesome than leaving a little dust underneath.
How do you damp-mop without damaging the finish?
Remove grit first. Then use a microfiber pad that is lightly damp, not wet or dripping. Use the cleaner and application method approved for the floor. Do not pour solution onto the boards or spray a broad area heavily. Work in small sections, rinse or change the pad when it gets dirty, and absorb visible moisture promptly. The surface should not stay wet after you finish a section.
- Confirm that damp cleaning is allowed by the floor’s care instructions.
- Read the cleaner label and prepare it exactly as directed; a stronger mixture is not necessarily more effective.
- Wring the pad thoroughly before it touches the floor.
- Clean a small section at a time, using even passes without scrubbing hard.
- Replace or rinse the pad when it looks dirty, rather than spreading soil around.
- Use a clean dry cloth to absorb puddles, streaks, or liquid caught near a seam.
Pay particular attention to board joints, edges, and damaged areas. Do not leave a wet mop parked on the floor while you answer a call or refill a bucket. If you need to pause, set the mop aside and make sure the last section is dry.
Do not use a steam mop as a default for hardwood. Steam and heat introduce moisture and can affect some boards or finishes. The American Cleaning Institute’s hardwood-floor guidance says the industry generally does not recommend steam mops on wood floors: hardwood floor cleaning guidance. When instructions differ, follow the flooring manufacturer for your specific floor.
For a large open plan, clean one zone at a time: for example, the dining area, the walkway, then the living area. This helps you control how much liquid is used and lets you dry each section before moving on. If the mop pad leaves a visible wet trail, wring it out more before continuing.
Which products are suitable for hardwood floors?
Choose a cleaner explicitly intended for your floor type or finish, and follow the label. Do not rely on a general claim that a product works on many surfaces, or assume that a familiar household ingredient is safe for every finish. A cleaner can leave a film, dull the sheen, or change the appearance even if it seems mild.
Keep the product label until you know how the floor responds. Use the stated amount and dilution, if any. More product can mean more residue and more wiping, not a cleaner result. Do not mix products. If a solution leaves streaks, stop and review its directions instead of adding another product to hide the film.
Avoid abrasive powders, scouring pads, and strongly alkaline products unless the flooring manufacturer specifically approves them. Do not apply wax, polish, oil soap, or a shine-restoring coating unless you know it matches the existing finish. An incompatible layer may make later maintenance or refinishing more difficult. Store cleaning products away from children and pets and follow all label precautions.
Be cautious with homemade mixtures, including vinegar and water. The fact that an ingredient is common in a kitchen does not show that it is compatible with a particular floor finish. If the manufacturer’s instructions do not name it, choose a product approved for the floor instead. This is especially important for floors with unknown history or visible wear.
How should you respond to spills and stains?
Act promptly, but start with the least aggressive method. Blot liquid with a soft absorbent cloth; do not rub it outward or leave it to soak. Lift solids gently. If the finish instructions allow it, use a barely damp cloth for residue, then dry the area. For a sticky patch, put a small amount of compatible cleaner on the cloth rather than soaking the board.
Food and drink
Lift solid food with a soft cloth or plastic utensil, taking care not to scrape. Blot drinks from the outside of the spill toward the center so the wet area does not spread. Dry the boards and inspect the seams. If a colored drink leaves a mark, do not immediately reach for bleach or solvent; either may affect the finish. Consult product-specific instructions.
Grease or sticky residue
Blot excess material first. Use only a cleaner approved for the finish, applied sparingly to a cloth. Follow the label’s directions, and stop if the color or sheen changes. Avoid a metal scraper, abrasive pad, or a large amount of degreaser.
Pet accidents
Blot promptly and use a product labeled safe for the floor finish. Do not flood the spot while trying to remove odor. If odor or discoloration persists, liquid may have reached a seam or the wood itself. Repeatedly wetting the same area can make the problem worse; ask a flooring professional about next steps.
Scuffs and shoe marks
Try a clean microfiber cloth first, with gentle pressure. Avoid melamine sponges, abrasive pads, and shoe polish unless the manufacturer approves them. These may change the sheen or remove finish rather than simply lift the mark.
Dark marks and water rings
Blot and dry the area, then check whether the mark remains once the surface is dry. A persistent dark mark or ring may involve the finish or the wood below it, rather than loose soil. Do not sand, bleach, or apply a stain remover without knowing the finish and the recommended repair method. A flooring specialist can assess whether the issue is surface residue, finish damage, or a deeper stain.
For any unknown stain, make a note of what spilled, when it happened, and what has already been applied. That information can help a flooring professional recommend the next step. Avoid layering remedies: each additional chemical can complicate diagnosis and may make the mark harder to treat. If you already used a product and the surface looks cloudy, do not scrub more aggressively; check the product directions and seek finish-specific advice.
What common hardwood-floor cleaning mistakes should you avoid?
- Leaving standing water: Wipe spills and damp areas as soon as you see them.
- Using too much cleaner: Excess solution can leave a film and create more work.
- Cleaning before removing grit: A damp pad can drag particles across the finish.
- Using household mixtures by default: Familiar ingredients are not automatically suitable for a specific coating.
- Applying wax or polish without checking: It may not match the existing finish and can complicate future care.
- Ignoring wear or damage: Moisture can reach exposed wood more readily through worn areas or open seams.
- Using a dirty mop head: A soiled pad can spread residue and make streaks harder to trace.
- Rushing around furniture: Dragging a chair or table can scratch the floor even when the cleaning method is sound.
Rugs and mats deserve attention too. A backing that traps moisture or transfers color can affect the boards beneath it. Lift rugs periodically and inspect both the floor and backing. Keep felt pads under furniture clean; grit caught under a pad can scratch as the furniture shifts. If you notice moisture or discoloration under a rug, remove it and let the floor dry according to the flooring maker’s guidance before replacing it.
Do not assume a product is safe just because it is sold as a floor cleaner. Check that it is intended for the wood finish you have. Likewise, a mop labeled “hard floor” may still hold too much water if it is not wrung out. The tool and the technique both matter.
How can you build a practical floor-care plan?
A useful plan separates routine dry pickup from occasional damp cleaning. The aim is to remove grit often and use liquid only when the floor needs it. Adjust the routine to traffic, pets, weather, and visible soil. You can use the checklist below as a starting point, then change it based on what your home actually needs.
- Entry and kitchen: Check frequently for tracked grit and crumbs. Blot spills as they happen; dry-clean the floor when debris appears.
- Living areas: Dust-mop or vacuum when dirt becomes visible, including reachable edges beneath furniture.
- Bedrooms and less-used rooms: Inspect periodically and dry-clean as needed instead of wet-mopping on a fixed schedule.
- After a spill: Blot, dry, and follow the floor-specific instructions for any remaining residue.
- After cleaning: Wash or replace pads so grit and product residue are not carried into the next room.
A short weekly walk-through can help: look at the entry, kitchen, and main path first; check for grit, crumbs, sticky patches, and water near sinks or doors. Decide which spots need dry pickup and which, if any, need a damp cloth. This avoids turning a quick check into an unnecessary full-floor wash.
For a home with pets, keep a clean cloth and an approved spot cleaner accessible, but store them safely. For a household with frequent guests, ask people to use entry mats and keep the main traffic route clear. If you have a busy kitchen, clean small food spills promptly rather than waiting until they accumulate and require more scrubbing.
Seasonal changes can alter what comes indoors. Rain may bring water and soil; dry conditions may bring more dust. Adjust mat care and dry pickup as needed. If windows are open or work is being done nearby, check for fine dust before using a damp mop, because a dry pass can collect it without making a muddy film.
For whole-home upkeep, floor care can fit into a broader cleaning routine. Crystal Clean Collective provides professional home cleaning in the DMV, delivered by vetted, insured cleaners. General home cleaning can help with household cleanliness, while floor-specific product choices, repairs, and refinishing should still follow the flooring manufacturer or a qualified floor specialist.
When is professional cleaning or flooring advice the better option?
Professional home cleaning may be useful when routine chores are difficult to keep up with, when a move or seasonal reset calls for more attention, or when you want help maintaining a clean home. It is different from hardwood repair, refinishing, or specialized restoration. Before a visit, mention delicate floors, worn finish, and any product restrictions. Ask what approach is planned for the wood surface so expectations are clear.
For example, if a household is preparing for guests and the floor has ordinary dust and footprints, a general home-cleaning visit may help with the overall space. If boards are buckling or a dark stain remains below the surface, a standard cleaning visit is not the right substitute for a flooring assessment. Matching the task to the problem avoids expecting a cleaner to repair a finish or solve a moisture issue.
Seek flooring-specific advice if boards are cupping, buckling, separating, or staying damp; if the finish is peeling or worn through; if a stain has penetrated; or if you cannot identify the floor and are considering a new product. These signs can call for repair, a moisture investigation, or refinishing rather than ordinary cleaning. Do not address persistent moisture by repeatedly mopping or applying stronger chemicals.
If you arrange help, share the care instructions and identify areas that should not be treated. Point out spills, damaged spots, or a previous product application. Ask that grit be removed before any damp cleaning, that the mop be well wrung, and that the area be dried promptly. These requests clarify the routine; they do not replace the manufacturer’s directions.
Crystal Clean Collective serves DMV homes with home cleaning, deep cleaning, commercial cleaning, and move-in/move-out cleaning. Its service is delivered by vetted, insured cleaners, and the company emphasizes simple online booking and a spotless guarantee. For cleaning information, review how to contact Crystal Clean Collective or use the online booking page.
How should you compare routine care, a cleaner visit, and flooring work?
It helps to distinguish three different needs. Routine care is for loose dirt and ordinary spills. A home-cleaning visit addresses general household cleaning within the agreed scope. A flooring specialist handles finish problems, repairs, and questions about an unknown or damaged surface. The right choice depends on the symptom, not simply how dirty the boards look.
| Situation | Reasonable next step | What it does not replace |
|---|---|---|
| Dust, crumbs, or light tracked grit | Dry mop or hard-floor vacuum with a clean, suitable head | Repair of scratches or worn finish |
| Small fresh spill on an intact finish | Blot, dry, then use only an approved spot method if needed | Diagnosis of a stain that remains below the surface |
| General household upkeep or move preparation | Discuss a home-cleaning visit and clarify the requested scope | Wood-floor refinishing or moisture remediation |
| Peeling finish, buckled boards, persistent dampness | Seek flooring-specific assessment | Routine cleaning as a solution to structural or finish damage |
When comparing the options, describe the observable problem rather than diagnosing it yourself. “There is a cloudy patch near the sink after a cleaner was used” gives a provider more useful context than “the floor needs polishing.” If you are unsure whether a mark is dirt or damage, say so. It is better to pause than to choose a stronger treatment that could make the surface worse.
For a general home-cleaning plan, use online booking options and include relevant priorities when arranging service. A clear request can distinguish routine cleaning from a floor concern that needs specialist attention.
Frequently asked questions
Can you use a steam mop on hardwood floors?
It is not a safe default. Steam and heat introduce moisture, and the industry generally does not recommend steam mops for wood floors. Follow the instructions for your specific floor.
Is vinegar a safe hardwood-floor cleaner?
Do not assume it is suitable for every finish. Use the flooring maker’s instructions and a cleaner approved for the surface rather than relying on a homemade mixture.
Can you use a wet mop?
A soaking wet mop is not a good default. If the floor instructions permit damp cleaning, use a thoroughly wrung microfiber pad, work in small sections, and dry visible moisture promptly.
What should you do if a spill leaves a dark mark?
Blot and dry the spill first. If a mark remains, do not sand or bleach it without specific guidance. It may involve the finish or wood, and a flooring specialist can assess it.
How often should hardwood floors be mopped?
There is no single schedule. Dry-clean as needed for traffic and debris, and damp-mop only when necessary and when the floor’s care instructions allow the method.
With regular grit removal, prompt spill response, and careful control of moisture, you can maintain cleaner-looking hardwood and reduce avoidable wear in your home.