How to Clean Blinds Without Damaging Them
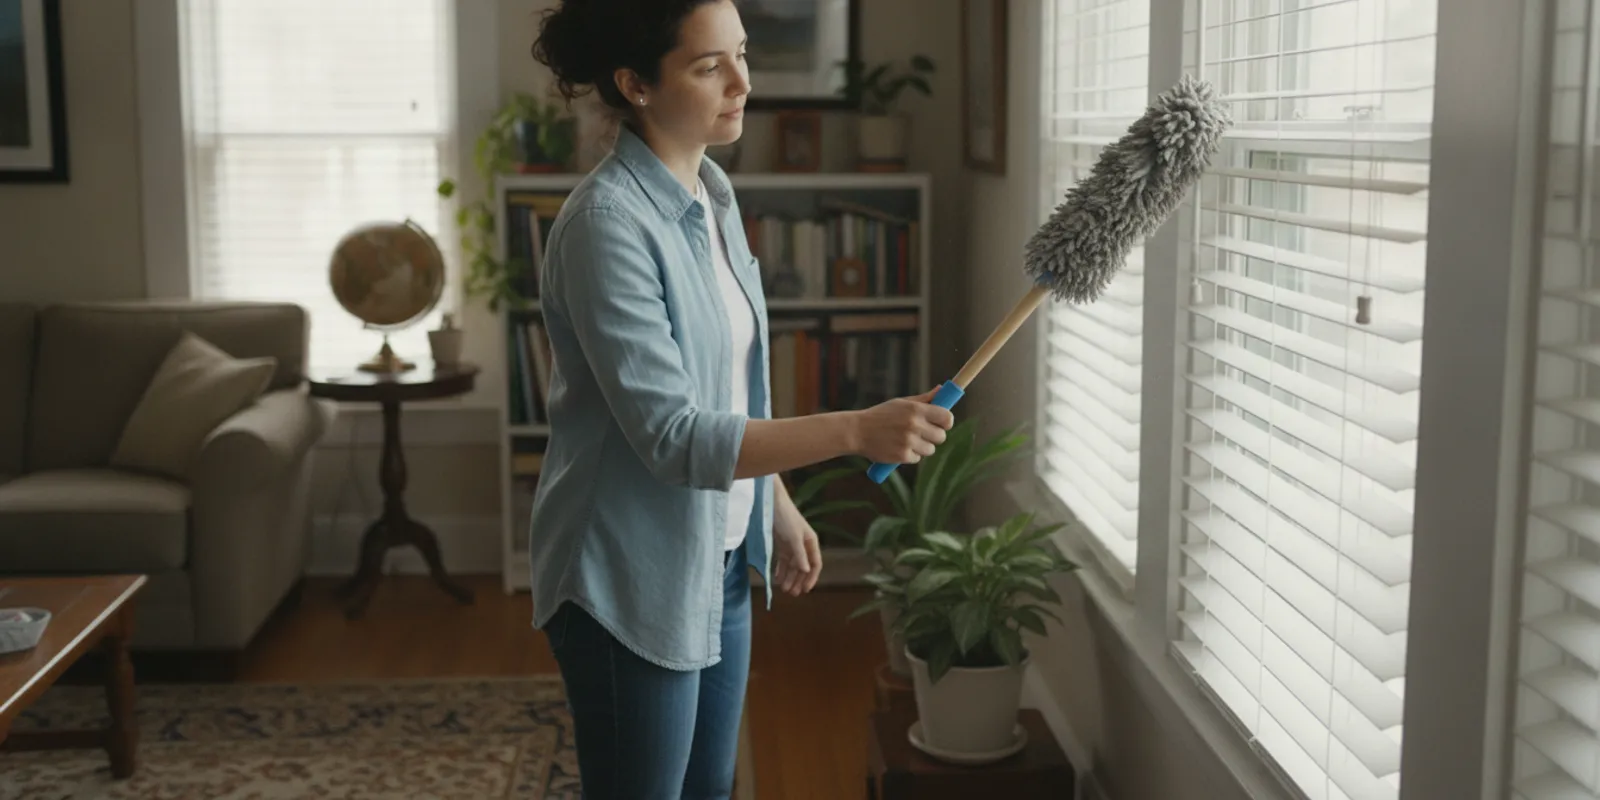
Learning how to clean blinds starts with identifying what they are made of. A light dusting is safe for many types, but soaking or scrubbing the wrong material can cause warping, stains, or damage to the finish. With a few simple tools and a method matched to the blind, you can remove everyday dust without turning the job into a bigger one.
What should you check before cleaning blinds?
Start by looking at the headrail, slats, and any labels or care instructions that came with the window covering. Determine whether the slats are wood, faux wood, aluminum, vinyl, or fabric. If you are unsure, treat them as delicate: dust first, test any damp method in a discreet spot, and avoid applying liquid until you know how the material reacts.
Raise or lower the blind according to its design so you can reach the slats without pulling on cords or putting strain on the mechanism. Close horizontal slats one way, then the other, to expose both surfaces. For vertical blinds, turn the vanes so their faces are accessible and support them as you work. Use only gentle pressure; bent slats and damaged cords can be harder to address than dust.
Check the surrounding window area, too. An open window, cooking residue, pet hair, or a nearby vent can make blinds dusty or sticky sooner. If you see mold, extensive staining, brittle material, or a broken mechanism, do not try to fix it by aggressive scrubbing. Pause and consider the manufacturer’s guidance or a qualified repair professional.
Which tools are useful for cleaning blinds?
Gather supplies before you start so you can work steadily. A microfiber cloth, a soft-bristled brush, a vacuum with a clean upholstery or brush attachment, and a small bowl of water are enough for many routine jobs. For suitable washable materials, a small amount of mild dish soap may help with greasy residue. Keep a dry cloth nearby to pick up moisture.
- Microfiber cloth: Traps dust and can be used dry or barely damp on compatible surfaces.
- Soft brush: Helps lift dust from textured or narrow areas without hard scraping.
- Vacuum attachment: A low-suction brush can remove loose dust efficiently; keep the nozzle from catching cords or fabric.
- Step stool: Use a stable stool when needed rather than leaning on furniture or reaching awkwardly.
- Clean water and mild soap: Use sparingly and only when the material permits damp cleaning.
A commercial blind duster is optional. A clean sock worn over your hand can also help you wipe slats, but wash it first and change it if it becomes dirty. Avoid anything that sheds lint or has a rough seam that could scratch a finish.
How do you dust blinds without spreading dust?
Dusting is the best first step for nearly every blind type. Work from top to bottom so loosened dust falls onto areas you have not cleaned yet. Close the slats and wipe gently across them, then reverse their angle and repeat. Support the slat near the area you are wiping if it flexes easily.
- Turn off fans that could scatter dust while you work.
- Place a towel or cloth on the sill or floor to catch falling debris.
- Use a microfiber cloth or low-suction brush attachment, moving from one end of each slat to the other.
- Clean the opposite face by tilting the slats in the other direction.
- Finish by wiping the headrail, cords carefully, and the sill.
For a vacuum, use gentle suction and keep the brush moving. Do not press hard enough to bend slats or pull on cords. If the blinds are delicate or the slats are loose, a cloth is easier to control. A dry brush can help with grooves and corners, followed by vacuuming the dust from the sill.
For vertical blinds, hold each vane steady and wipe downward, or vacuum from top to bottom with the brush attachment. Avoid twisting or tugging. If the vanes are fabric, check their cleaning instructions before introducing moisture.
How should you clean wood blinds?
Natural wood blinds should generally be treated as a dry-cleaning job unless their manufacturer specifically allows another method. Dust both sides with a microfiber cloth or soft brush. A barely damp cloth may be appropriate for a small mark on some finishes, but use very little water, test a hidden area, and dry the spot promptly.
Do not soak wooden slats, spray cleaner directly onto them, or leave water pooled around joints. Excess moisture can affect wood and its finish. Avoid abrasive pads, stiff brushes, and strong chemicals. If a stain does not lift with gentle dusting or a cautious spot wipe, stop rather than repeatedly rubbing the same area.
Faux-wood blinds can often tolerate a little more moisture than natural wood, but their construction and finish still vary. Dust first, then wipe a small section with a cloth that is only slightly damp if the care instructions permit. Dry promptly and check for color transfer or surface changes as you go.
How do you wash aluminum and vinyl blinds?
Aluminum and vinyl slats are often more suitable for damp wiping than wood, though the care label remains the best guide. Remove loose dust first. Mix a small amount of mild dish soap with water, dampen a microfiber cloth, and wring it out well. Wipe one slat at a time, then use a clean damp cloth to remove soap residue if needed. Dry with a soft cloth to reduce water marks.
For stuck-on kitchen film, let the damp cloth rest briefly over the spot rather than scraping. Repeat gently instead of using force. Keep water away from the headrail and internal mechanisms. Do not bend the slats to clean their edges, and never use a metal scraper or scouring pad.
Some aluminum blinds can crease or kink if pressed too hard. Work with the slat supported and use a light touch. If you are cleaning a large set, take breaks and check your cloth frequently; a dirty cloth can redeposit grime instead of removing it.
What is the safest way to clean fabric blinds?
Fabric blinds can be more sensitive to moisture because water may leave rings, distort the fabric, or affect a backing. Begin with a vacuum brush on low suction or a soft, dry brush, following the fabric’s direction. For a small mark, consult the care instructions and test any allowed spot treatment on an inconspicuous area.
Do not saturate fabric blinds or scrub a stain aggressively. If the fabric is removable, do not put it in a washing machine unless its label explicitly says that is safe. Some fabrics require specialized cleaning. If the instructions are missing or the stain is large, ask the manufacturer or a professional who handles that material before proceeding.
Which cleaning products and tools should you avoid?
More product does not mean a better result. Strong solvents, bleach, ammonia-based cleaners, abrasive powders, and rough pads can discolor or damage finishes. A product that is suitable for glass may not be appropriate for a blind. Never mix cleaning chemicals; follow product labels and ventilate the room when using any cleaner.
- Do not spray liquid directly onto wood, fabric, cords, or the headrail.
- Do not use a soaking wet cloth on materials that can warp or stain.
- Do not scrub with a hard brush, kitchen scourer, or sharp tool.
- Do not pull on cords or use them to move a blind while cleaning.
- Do not attempt to remove a blind from its brackets unless you know how it is installed and can handle it safely.
Avoid taking blinds down simply to wash them in a bathtub unless the manufacturer permits immersion and you can reinstall them safely. That approach can damage mechanisms, bend slats, or create a difficult lifting task. When dirt is stubborn, a few gentle passes are safer than an improvised deep soak.
How often should you clean blinds?
There is no single schedule that fits every home. A practical starting point is to dust blinds every few weeks in rooms where dust accumulates quickly, then adjust based on what you see. Kitchens, busy living areas, homes with pets, and windows near open doors may need more frequent attention. A spare bedroom or a room used occasionally may need less.
Spot-clean marks when you notice them, using a method suited to the material. Consider a more thorough wipe a few times a year if the slats are washable and need it. The goal is not to follow a rigid calendar; it is to prevent a thick layer of dust or grease from building up until cleaning becomes difficult.
Build the task into an existing routine. For example, dust one room’s blinds while changing bedding or include them in a seasonal whole-room reset. A small, repeated effort takes less time than trying to clean every blind in the home after months of buildup.
How can you make blind cleaning easier in a busy household?
Choose a repeatable order and keep the supplies together. Start upstairs or at the farthest room, clean from top to bottom, and work toward the exit. If you are short on time, focus on the rooms people use most and on blinds that show visible dust. Set a timer for a short session rather than trying to finish the entire home in one go.
Keep blinds from getting unnecessarily dirty by closing windows during dusty work outside, using kitchen ventilation while cooking, and wiping nearby sills when you notice dust. These habits do not eliminate dust, but they can reduce what settles on the slats. Avoid leaving blinds damp; let them dry fully before closing them tightly if the material was wiped with moisture.
If cleaning windows and surrounding surfaces is also on the list, do the blinds first. Dust and debris can fall onto the sill or floor, so finish those surfaces afterward. This order prevents you from repeating work.
When is professional home cleaning help useful?
Professional home cleaning can help when your household needs support with broader cleaning tasks, such as routine home cleaning, deep cleaning, or cleaning before or after a move. It may be useful when time is limited, several rooms need attention, or you want a dependable plan for the home. Confirm the requested scope before booking: blind material, condition, accessibility, and the specific task can affect whether a cleaning visit is appropriate.
Crystal Clean Collective LLC provides home cleaning in the DMV region with vetted, insured cleaners, simple online booking, and a spotless guarantee. If you need help beyond the blinds, you can learn about home cleaning services or book a cleaning visit. Do not assume every blind can be washed as part of a standard appointment; describe the material and the request when you arrange service.
What is a useful blind-cleaning checklist?
Before you begin, use this quick checklist to keep the process safe and manageable:
- Identify the material and check the care instructions.
- Gather a microfiber cloth, soft brush, and suitable vacuum attachment.
- Protect the sill and floor from falling dust.
- Dust first, working from the top and supporting delicate slats.
- Test a damp method discreetly before treating a visible area.
- Use minimal moisture and dry compatible surfaces promptly.
- Stop if you see damage, color changes, or a stain that resists gentle cleaning.
These steps are more useful than relying on a single cleaning trick for every window covering. Matching the method to the material protects the blind and helps you decide when a task is better left to a specialist.
How can you plan a full-room blind-cleaning session?
A room-by-room plan helps when several windows need attention. Before starting, walk through the room and note the blind types, their condition, and any spots that need special care. Group the work by material rather than assuming every window gets the same treatment. For example, you might dry-dust the wood blinds first, wipe vinyl slats with a barely damp cloth next, and leave a fabric shade alone until you have checked its care label.
Prepare the work area so you do not have to stop repeatedly. Move lightweight items from under the window, protect the sill, and keep clean and used cloths separate. Put the vacuum attachment, soft brush, and water bowl within reach but away from cords and electrical equipment. If you are using a step stool, place it on a stable surface and reposition it instead of leaning sideways to reach the last slat.
- Start with the least dirty window to practice your technique.
- Remove loose dust before you use any moisture.
- Check the cloth after each window and replace or rinse it when it looks dirty.
- Pause after a test spot to inspect the finish before continuing.
- Finish the window area by cleaning the sill and floor where dust fell.
This sequence is useful because it separates diagnosis from cleaning. If you discover that a blind is damaged, sticky, or unusually fragile, you can stop on that window without having already applied the same solution throughout the room. It also avoids carrying grease from a kitchen window to a cleaner bedroom window on the same cloth.
For a small apartment, one session may be enough. In a larger home, split the work into manageable blocks, such as bedrooms one day and common areas another. A short, planned session is easier to fit around household routines than an all-day project. Keep a note of which materials needed extra care so the next dusting is quicker.
How do you handle different kinds of buildup?
Not all visible dirt calls for washing. A gray film may be loose dust, while sticky residue near a stove can be a mix of airborne grease and dust. Pet hair may cling to a slat or collect at the bottom. The first decision is whether the material is dry and loose or attached to the surface. Starting with a dry method prevents loose particles from turning into muddy streaks when they meet moisture.
Loose dust and lint
Use a microfiber cloth, soft duster, or low-suction vacuum brush. Wipe along each slat rather than pushing dust into the edges. For lint caught near the cords, use a soft brush and work around the cord without pulling it. Empty or clean the vacuum attachment afterward so the next use does not scatter dust.
Kitchen residue
First remove loose particles with a dry cloth. If the blind material allows damp cleaning, use a small amount of mild soap diluted in water and wring the cloth thoroughly. Hold the slat steady, work over a short section, and use a clean cloth to remove residue. Do not pour cleaner on the blind or scrub repeatedly at one spot. If a mark remains after a few gentle passes, find out what the material’s care instructions allow rather than escalating to a harsh product.
Pet hair
A dry microfiber cloth or soft brush often lifts hair more predictably than a wet wipe. Work from the top down and collect hair as it comes loose. A vacuum brush can help on sturdy slats, but keep it clear of cords and fabric edges. Check the sill and nearby floor after the blinds are done, since hair may fall while you work.
Water spots and fingerprints
Fingerprints often respond to a light wipe on a compatible washable surface, but water spots can indicate mineral residue or a finish change. Test in a hidden area first. Avoid pressing harder just because a mark is visible; pressure can leave a shiny patch, crease a slat, or disturb a coating. If the surface is wood or fabric, keep to the maker’s guidance and avoid experimenting with home mixtures.
How should you adapt the method to blind design?
Material matters, but the shape and operating style matter too. Horizontal blinds have many narrow slats, and their cords can be easy to snag. Vertical blinds have longer vanes that can swing or twist while being cleaned. A roller shade may be made from fabric and does not have individual slats to wipe. Use the method appropriate to the construction, and do not force a covering into a position it does not reach easily.
For horizontal blinds, angle the slats closed in one direction and wipe from the center toward the edges with light pressure. Reverse the angle for the other face. If each slat is especially delicate, support it with one hand while wiping with the other. Avoid pushing down on the whole blind or letting the bottom rail swing while you clean.
For vertical vanes, clean one vane at a time while holding it near the top or supporting it gently along its length. Move downward in smooth strokes. Do not twist a vane to reach its reverse side; rotate it using the control mechanism if that works normally. If a vane detaches or the track seems stuck, stop rather than pulling harder.
For shades without slats, remove loose dust with a soft brush or an appropriate vacuum attachment. Follow the fabric’s direction and avoid stretching it. If the shade has a backing or a delicate woven surface, even a small wet mark may be difficult to correct. Refer to its instructions before attempting spot treatment.
What should you do if a test spot changes the surface?
A test spot is useful only if you give it time to reveal a problem. Choose an area that is not normally visible, apply the smallest amount of the approved cleaning method, and inspect it after it has dried. Watch for color transfer to the cloth, a lighter or darker patch, raised grain, a sticky feel, or a change in sheen. If any of these appear, do not continue with that method.
Blot away moisture with a clean dry cloth rather than rubbing. Allow the area to dry naturally, and compare it with the surrounding finish in good light. Do not use heat to speed drying unless the manufacturer recommends it. If the surface remains altered, seek material-specific guidance. A second treatment or a stronger cleaner may make the change more noticeable.
Similarly, if the cloth catches on an edge, a slat flexes unusually, or the blind begins to sag, pause. Cleaning should not require force. A damaged blind may need repair or replacement advice rather than more cleaning. Keep children and pets away from tools and cleaning solutions while the work is underway, and put supplies away when you finish.
How can you compare a quick dusting with a deeper clean?
A quick dusting is intended to remove loose particles and maintain a clean appearance. It is usually the right choice when the blinds look dusty but are not sticky or stained. A deeper wipe is for compatible materials with attached grime that does not come off with dusting alone. It takes longer because you need to work slat by slat, control moisture, and dry surfaces as you go.
Use this decision guide rather than starting with the most intensive method:
- Blinds look dusty, with no sticky areas: Dry dust or vacuum gently, then clean the sill.
- A washable slat has a few fingerprints: Test a barely damp cloth, spot-wipe, and dry.
- Grease or residue covers many slats: Check the care instructions, then decide whether careful damp wiping is suitable or professional material-specific help is needed.
- Fabric, natural wood, damaged finish, or unknown material: Keep to dry cleaning until instructions confirm another method.
- Broken cords, loose brackets, or bent slats: Stop cleaning around the problem and seek repair guidance.
The time comparison is practical rather than exact. Dry dusting is often a brief maintenance task for one window; a full wet wipe can take much longer because each slat must be cleaned and dried carefully. If the blinds are numerous, fragile, or above a difficult reach, divide the work or ask for advice instead of rushing. A rushed deep clean is more likely to leave streaks or cause avoidable damage.
How can a busy household set a realistic cleaning cadence?
Choose a cadence based on what settles in each room. A kitchen may need a quick dust more frequently than a guest room because cooking can leave a film on nearby surfaces. A living room with a frequently opened window may collect more outdoor dust. In a room with pets, hair may be the visible signal to clean. The point is to respond to actual conditions rather than treating every blind as if it needs the same work every week.
A simple three-level routine can make the task easier to remember:
- Maintenance dusting: Look over the blinds during regular room cleaning and remove visible loose dust before it builds up.
- Spot attention: Deal with a fingerprint or small mark when you notice it, using only a method suitable for the material.
- Occasional review: A few times a year, check all the blinds for buildup, damage, and care-label needs. Damp-wipe only those that can safely tolerate it.
For example, a household could add a quick dust to the most-used room during a weekly reset, then rotate other rooms through the month. This does not require a fixed calendar for every window. If a room stays clean, move on; if a kitchen window shows residue sooner, give it attention sooner. Keep the cloths and brush together so the small task does not become a supply hunt.
Seasonal changes can also prompt a review. When windows have been open more often, check for extra dust near the sill. After a period of cooking or home projects, look for settled particles and wipe the surrounding surface. If blinds were cleaned with moisture, let them dry fully before closing them tightly. These checks help prevent the buildup that makes a later cleaning session more demanding.
What is a room-by-room example for a typical home?
Imagine a home with vinyl blinds in the kitchen, wood blinds in a bedroom, and fabric vertical vanes in the living room. A single all-purpose cleaner would be the wrong starting point. Instead, sort the windows and make a short plan for each one.
In the kitchen, turn off nearby airflow if it is scattering dust. Dry-dust the vinyl slats first. If a few areas feel greasy and the care instructions allow damp wiping, use a well-wrung cloth with a little mild soap, one slat at a time. Rinse the cloth as needed, dry each area, and finish with the sill. If grease remains, do not reach for a scourer; pause and check what the manufacturer allows.
In the bedroom, use a dry microfiber cloth on the wood blinds. Work from the upper slats down and turn them to reach both faces. A small mark should be tested discreetly before any damp spot treatment. If the finish changes or the mark resists, stop. The bedroom task may end after dusting, and that is a successful clean if the material should not be wet.
In the living room, vacuum the fabric vanes gently with a clean brush attachment, following the fabric’s direction. Hold each vane to prevent it from swinging. Do not wet a broad area or remove the vanes for a bath unless the care instructions expressly allow it. Afterward, vacuum or wipe the sill and floor where dust may have fallen.
This example shows why the result is not measured by using the same product everywhere. The right outcome is removing appropriate soil while preserving the material. If one blind needs specialized care, leave it for a separate decision rather than risking the whole set.
How can you keep the surrounding window area cleaner?
Blinds collect some of the dust and residue that also lands on nearby sills, trim, and floors. Cleaning only the slats can leave the area looking unfinished. Dust the blind before wiping the sill, and clean the floor or furniture below it after the debris settles. If you are cleaning glass as part of the same room task, work in an order that does not send drips onto a freshly cleaned blind.
Small habits may reduce how quickly a window covering looks dirty. Use kitchen ventilation while cooking, keep a nearby sill from becoming a storage spot for dusty items, and close windows during nearby dusty work. These steps will not prevent ordinary household dust. They simply reduce avoidable residue and make routine care more manageable.
Check for the source if one window gets dirty much faster than others. A nearby vent, frequent handling, cooking activity, or an open window can explain why. You do not need to change the cleaning method automatically; first determine whether the material is safe to clean the same way and adjust the cadence for that location.
When is professional home cleaning help useful?
Can I clean blinds with a vacuum?
Yes, for many blinds, a clean soft brush attachment on low suction is useful for loose dust. Keep it moving, avoid cords, and use a cloth instead if the slats are fragile or bend easily.
Can I use vinegar to clean blinds?
Do not assume vinegar is safe for every material or finish. Check the manufacturer’s directions first and test any permitted solution in a hidden spot. Mild soap and water may be enough for washable slats, while wood and fabric often call for a drier approach.
Should I take blinds down to clean them?
Usually, routine dusting and wiping can be done while blinds are installed. Removing them may be appropriate only when the manufacturer allows it and you can handle the weight and mechanism safely. Do not soak blinds unless their instructions specifically permit it.
How do I clean blinds with heavy grease or buildup?
Remove loose dust first, then use a barely damp, mild-soap cloth only if the material permits. Work gradually and avoid scraping. If residue remains or the finish changes, stop and seek material-specific guidance rather than applying stronger chemicals.
Can a home cleaning service clean my blinds?
Ask the provider about the exact material and requested work before booking. Home cleaning may cover broader room cleaning, but delicate blind washing or repairs may require a separate, material-specific service.
With a gentle, material-aware approach and a manageable schedule, blinds can stay cleaner without risking avoidable damage to their slats or finish.